
Last Updated on July 26, 2023
Short Answer
To make a Kydex wallet with a thermoformer, you will need a few materials and follow a step-by-step process. First, gather the necessary supplies such as Kydex sheets, a thermoformer, a heat gun, and a cutting tool. Next, heat the Kydex sheets using the thermoformer until they become pliable. Then, mold the heated Kydex around a wallet template and use the heat gun to shape it. Finally, trim any excess material and add finishing touches. With practice and attention to detail, you can create a durable and stylish Kydex wallet using a thermoformer.Making a Kydex wallet with a thermoformer can be a rewarding and practical project. In this article, we will explore the benefits of using a thermoformer to create a Kydex wallet, as well as the basics of Kydex and thermoforming. We will also guide you through the process of choosing the right thermoforming machine for your project and provide step-by-step instructions on how to prepare your Kydex sheets, set up the thermoforming machine, heat and shape the sheets, and trim and finish the wallet. Additionally, we will discuss how to add personalization to your wallet and provide tips for maintaining and caring for it. By the end of this article, you will have the knowledge and skills to create your own customized Kydex wallet with a thermoformer.
Understanding the Basics of Kydex and Thermoforming
- Kydex is a type of thermoplastic material that is known for its durability and versatility.
- Thermoforming is a manufacturing process that involves heating a plastic sheet and shaping it into a desired form.
- Thermoforming is commonly used in industries such as automotive, aerospace, and packaging.
- When it comes to making a Kydex wallet, thermoforming is the ideal method due to its ability to create precise and intricate shapes.
Choosing the Right Thermoforming Machine for Your Kydex Wallet Project
When it comes to making a Kydex wallet with a thermoformer, choosing the right machine is crucial for achieving optimal results. There are several factors to consider when selecting a thermoforming machine for your project.
Firstly, you need to determine the size and thickness of the Kydex sheets you will be using. This will help you determine the size and capacity of the thermoforming machine you need. Additionally, consider the type of heating method the machine uses. Some machines use radiant heat, while others use convection heat. Furthermore, look for a machine that offers adjustable temperature controls, as this will allow you to achieve the precise temperature needed for thermoforming Kydex.
Another important consideration is the level of automation the machine offers. Some machines are fully automated, while others require manual operation. Moreover, consider the speed and efficiency of the machine. Look for a machine that can produce a high volume of Kydex wallets in a short amount of time.
By carefully considering these factors, you can choose the right thermoforming machine for your Kydex wallet project and ensure the best possible results.
Step 1: Preparing Your Kydex Sheets for Thermoforming
Before you can start shaping your Kydex wallet, it is important to properly prepare the Kydex sheets. This will ensure that you achieve the best results and avoid any mishaps during the thermoforming process.
First, you will need to measure and cut the Kydex sheets to the desired size for your wallet. Use a ruler and a sharp utility knife to make precise cuts.
Next, you will need to clean the Kydex sheets to remove any dirt or debris. Use a mild soap and water solution to gently scrub the sheets, then rinse them thoroughly and pat them dry with a clean cloth.
Once the sheets are clean and dry, you can use a heat gun or an oven to preheat them. This will make them more pliable and easier to shape during the thermoforming process.
By properly preparing your Kydex sheets, you will set yourself up for success in creating a high-quality and durable Kydex wallet.
Step 2: Setting Up the Thermoforming Machine for Optimal Results
- Ensure that the thermoforming machine is clean and free from any debris or residue.
- Check that all the necessary tools and materials are readily available.
- Adjust the temperature settings on the machine according to the specifications of the Kydex sheets.
- Position the Kydex sheets on the machine’s platform, making sure they are aligned properly.
- Secure the sheets in place using clamps or other suitable methods.
- Double-check the alignment and positioning of the sheets to ensure they are centered and evenly distributed.
- Make any necessary adjustments to the machine’s settings to achieve the desired level of heat and pressure.
- Allow the machine to preheat for the recommended amount of time to ensure optimal results.
- Monitor the machine closely during the heating process to prevent overheating or underheating of the Kydex sheets.
- Once the sheets have reached the desired temperature, activate the machine’s forming mechanism to begin the shaping process.
Step 3: Heating and Shaping the Kydex Sheets
Once you have prepared your Kydex sheets and set up the thermoforming machine, it’s time to move on to the next step: heating and shaping the Kydex sheets. This step is crucial in creating a durable and functional Kydex wallet.
- Start by preheating the thermoforming machine to the recommended temperature for Kydex.
- Place the Kydex sheet on the machine’s platform, making sure it is centered and aligned properly.
- Close the machine’s lid and activate the heating element. The heat will soften the Kydex sheet, making it pliable and ready for shaping.
- Monitor the temperature closely to avoid overheating or underheating the Kydex sheet.
- Once the Kydex sheet reaches the desired temperature, use gloves or a heat-resistant tool to remove it from the machine.
- Quickly transfer the heated Kydex sheet to a mold or form that matches the desired shape of your wallet.
- Press the Kydex sheet firmly onto the mold, using a combination of pressure and heat to shape it properly.
- Hold the Kydex sheet in place until it cools and hardens, ensuring that it retains its shape.
By following these steps, you will be able to heat and shape the Kydex sheets effectively, creating a wallet that is both functional and aesthetically pleasing.
Step 4: Trimming and Finishing the Kydex Wallet
Once you have shaped the Kydex sheets to your desired form, it is time to trim and finish the wallet. This step is crucial in achieving a professional and polished look for your creation.
Start by carefully trimming off any excess material using a sharp utility knife. Take your time and make precise cuts to ensure clean edges. Remember to follow the outline of your wallet design.
Next, use sandpaper or a file to smooth out any rough edges or imperfections. This will give your wallet a smooth and refined finish. Be gentle and take your time to avoid damaging the Kydex.
After sanding, you can further enhance the appearance of your wallet by adding decorative elements. Consider using a heat gun to apply patterns or designs onto the surface of the Kydex. This will give your wallet a unique and personalized touch.
Finally, give your wallet a thorough inspection to ensure that all edges are smooth and there are no sharp or jagged areas. This will ensure that your wallet is not only aesthetically pleasing but also safe to use.
By following these steps, you will be able to trim and finish your Kydex wallet with precision and care, resulting in a high-quality and professional-looking final product.
Adding Personalization: Customizing Your Kydex Wallet with Patterns and Designs
One of the great advantages of making a Kydex wallet with a thermoformer is the ability to add personalization and customize it to your liking. This allows you to create a wallet that truly reflects your style and personality.
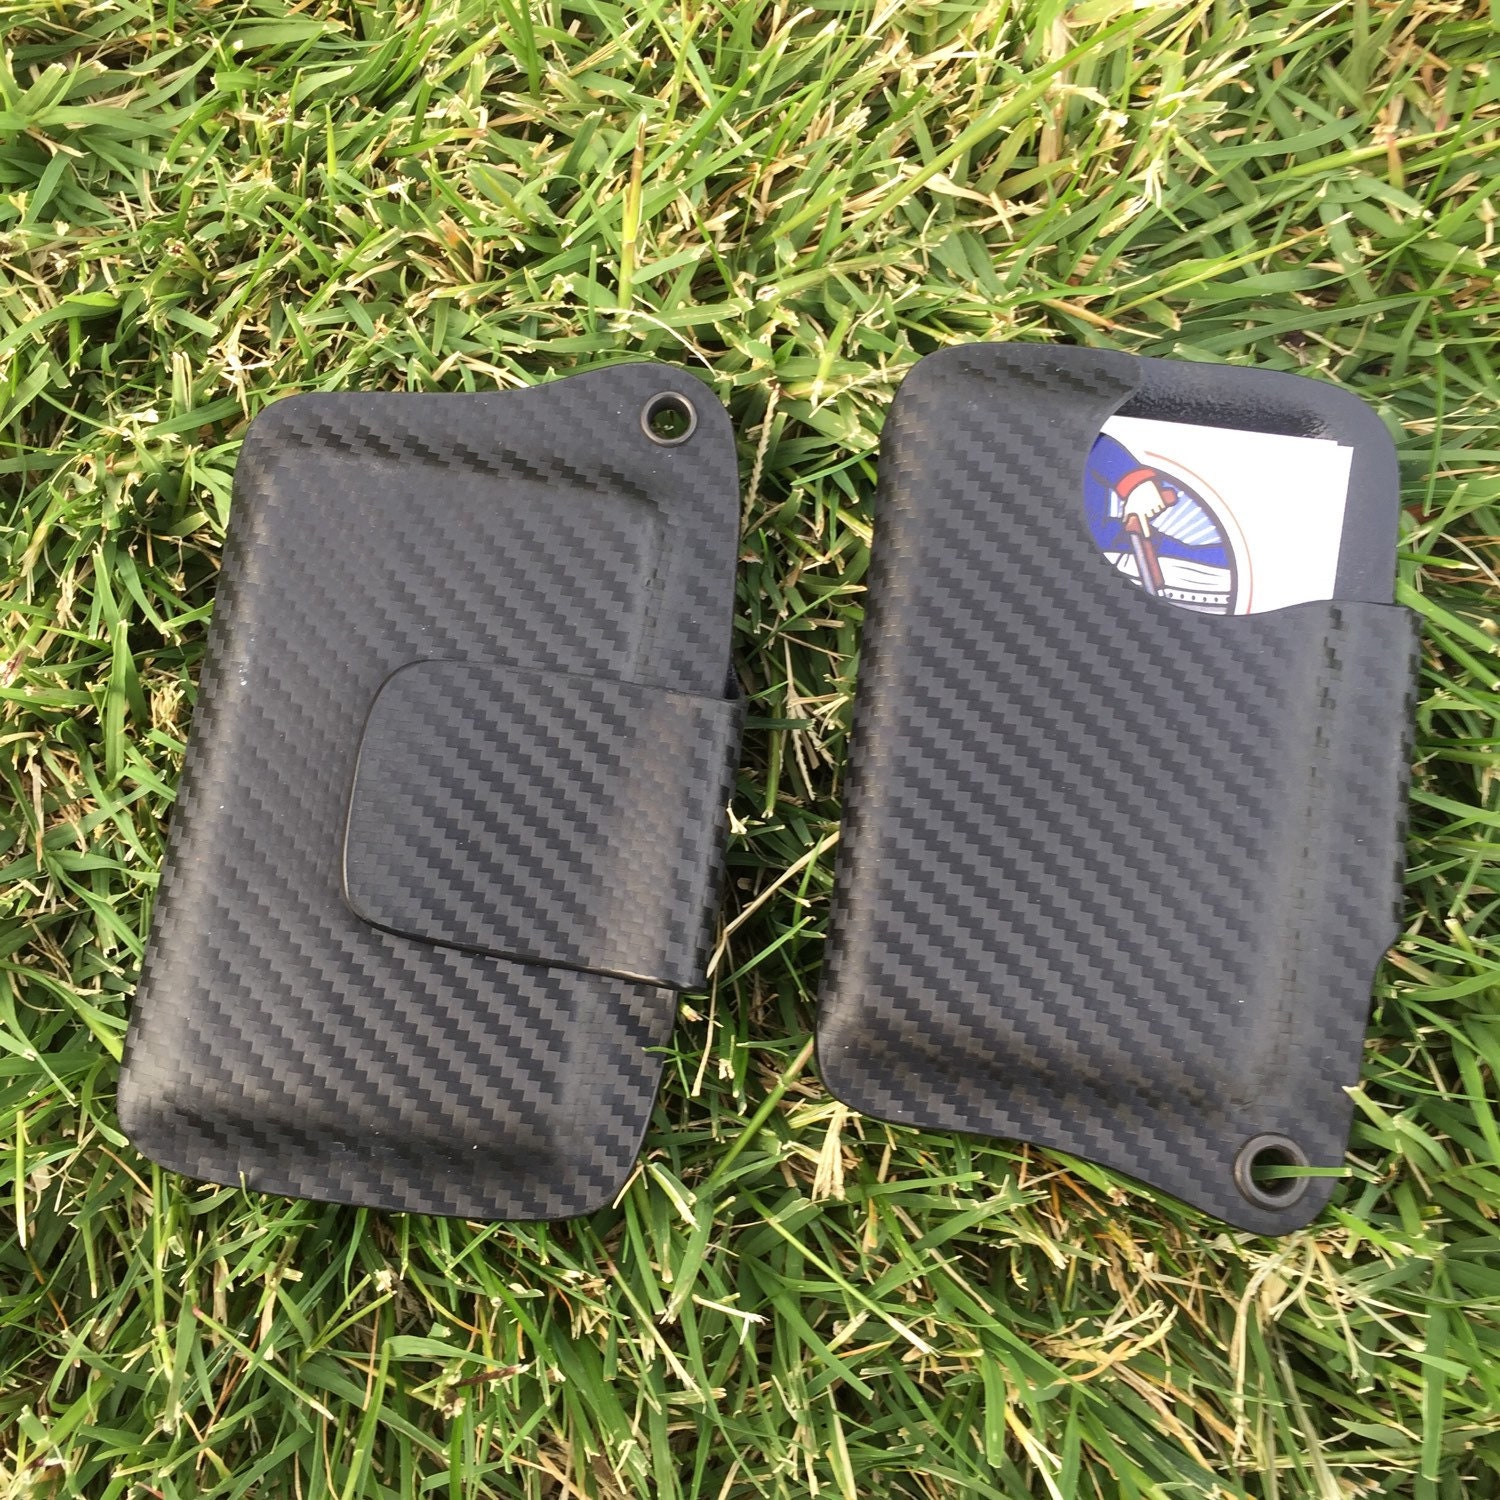
There are various ways to add patterns and designs to your Kydex wallet. One popular method is using a heat transfer film, which can be applied to the surface of the wallet and then heated to adhere to the Kydex material. This allows you to choose from a wide range of patterns and designs, including camouflage, carbon fiber, or even custom graphics.
Another option is to use a stencil and paint to create unique designs on the wallet. This gives you the freedom to create your own artwork or use pre-made stencils to achieve a specific design. Once the paint is dry, you can apply a clear coat to protect the design and give it a glossy finish.
Whether you choose to use heat transfer film or paint, adding personalization to your Kydex wallet is a fun and creative way to make it truly one-of-a-kind. So let your imagination run wild and create a wallet that is as unique as you are.
Maintaining and Caring for Your Kydex Wallet: Tips and Tricks
Once you have successfully created your own Kydex wallet using a thermoformer, it is important to know how to properly maintain and care for it. By following these tips and tricks, you can ensure that your wallet remains in excellent condition for years to come.
1. Keep it clean: Regularly wipe down your Kydex wallet with a damp cloth to remove any dirt or debris. Avoid using harsh chemicals or abrasive materials that could damage the surface.
2. Avoid extreme temperatures: Kydex is a durable material, but it can be sensitive to extreme temperatures. Avoid leaving your wallet in direct sunlight or in a hot car, as this can cause warping or discoloration.
Protect it from scratches: While Kydex is resistant to scratches, it is not completely scratch-proof. To prevent scratches, avoid placing your wallet in the same pocket as keys or other sharp objects.
4. Store it properly: When not in use, store your Kydex wallet in a cool, dry place. Consider using a protective case or pouch to prevent any accidental damage.
By following these simple tips, you can ensure that your Kydex wallet remains in pristine condition and continues to serve you well. Enjoy the satisfaction of creating your own wallet and the durability it provides.
Experience the Joy of Crafting Your Own Kydex Wallet with a Thermoformer
By following the step-by-step guide outlined in this article, you can create a personalized Kydex wallet that is both functional and stylish. Understanding the basics of Kydex and thermoforming is crucial in achieving optimal results, and choosing the right thermoforming machine is essential for a successful project.
Preparing the Kydex sheets, setting up the thermoforming machine, and heating and shaping the material are all important steps in the process. Once the wallet is formed, trimming and finishing it will give it a polished look.
For those looking to add a personal touch, customizing the wallet with patterns and designs is a great option. And don’t forget to maintain and care for your Kydex wallet to ensure its longevity.
By following these instructions, you can experience the satisfaction of creating your own Kydex wallet with a thermoformer. Start crafting today and enjoy the benefits of a wallet that is uniquely yours.
Frequently Asked Questions
What are the benefits of making a Kydex wallet with a thermoformer?
Making a Kydex wallet with a thermoformer allows for precise shaping and customization, resulting in a durable and unique wallet.
What is Kydex and thermoforming?
Kydex is a type of thermoplastic material known for its strength and rigidity. Thermoforming is a process of heating and shaping plastic sheets to create various products.
How do I choose the right thermoforming machine for my Kydex wallet project?
Consider factors such as the size of your project, the desired level of automation, and the budget when choosing a thermoforming machine for your Kydex wallet project.
What is the first step in making a Kydex wallet with a thermoformer?
The first step is to prepare your Kydex sheets for thermoforming by cutting them to the desired size and shape.
How do I set up the thermoforming machine for optimal results?
To achieve optimal results, ensure that the thermoforming machine is properly calibrated, the heating elements are at the correct temperature, and the vacuum system is functioning well.
What is involved in heating and shaping the Kydex sheets?
Heating and shaping the Kydex sheets involves placing them in the thermoforming machine, heating them until they become pliable, and then using a mold or press to shape them into the desired wallet form.
How do I trim and finish the Kydex wallet?
After the Kydex sheets have been shaped, they can be trimmed using a sharp knife or scissors. Finishing touches such as sanding the edges and adding a smooth finish can also be done.
Can I customize my Kydex wallet with patterns and designs?
Yes, you can add personalization to your Kydex wallet by using patterns and designs. This can be achieved through techniques such as painting, engraving, or applying decals.
How do I maintain and care for my Kydex wallet?
To maintain and care for your Kydex wallet, simply wipe it clean with a damp cloth when needed. Avoid exposing it to extreme temperatures or harsh chemicals to ensure its longevity.
What is the satisfaction in creating your own Kydex wallet with a thermoformer?
Creating your own Kydex wallet with a thermoformer allows you to have a sense of accomplishment and pride in making something unique and functional with your own hands.
About The Author

Orochi Konya is a student of the web. He has been dabbling in it since he was young, and has become an expert in his own right. He loves all things digital, from making websites to programming to social media. In his spare time, Orochi enjoys indulging in his other passion: music. He loves listening to all kinds of music and often spends hours creating playlists on Spotify. He also enjoys drawing manga and watching anime in his free time. Orochi is a friendly pop-culture guru who is always happy to chat about the latest trends in both Japan and the U.S.