Last Updated on July 5, 2023
Maintaining a clean oil pan is vital for your engine’s health and performance. Neglecting this essential maintenance task can lead to severe issues such as oil contamination, reduced lubrication, and engine damage. This comprehensive guide will walk you through the step-by-step process of cleaning your oil pan, ensuring that your engine remains in optimal condition.
Understanding the Oil Pan
Definition and Function of the Oil Pan
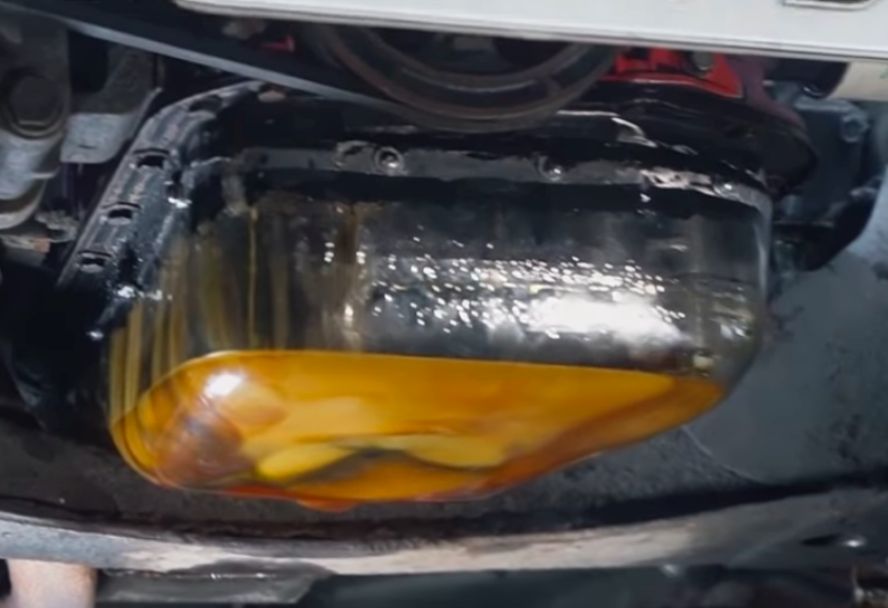
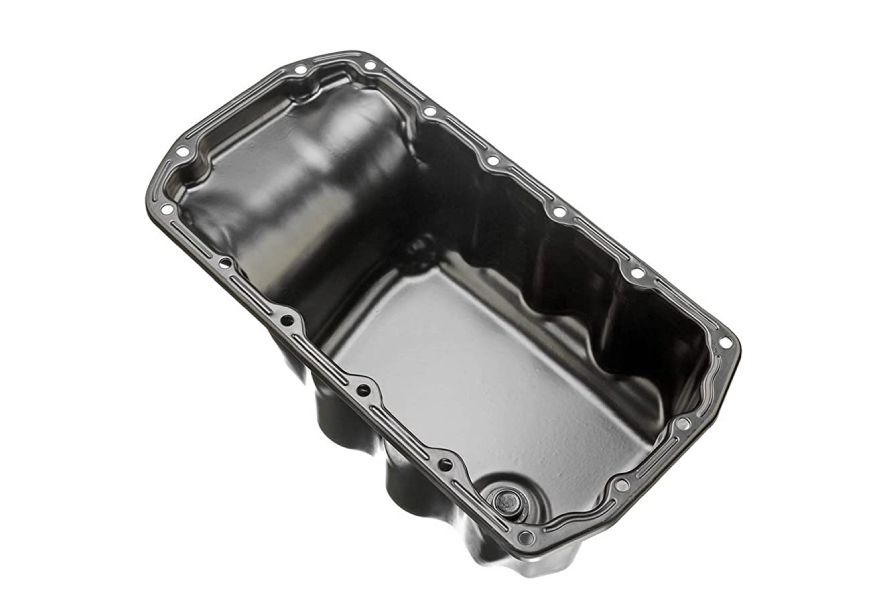
The oil pan is a crucial component of the engine’s lubrication system, and it is a reservoir located at the bottom of the machine that holds the engine oil. The oil pan serves as a collecting point for the oil, allowing it to be circulated throughout the engine to lubricate moving parts and dissipate heat.
Common Materials Used in Oil Pan Construction
Oil pans typically use steel, aluminum, or cast iron materials. Each material has advantages and disadvantages, affecting weight, durability, and heat dissipation.
Components and Parts of the Oil Pan System
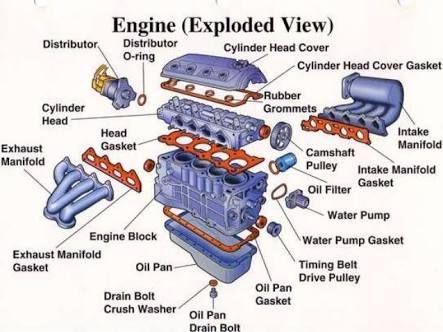
The oil pan system consists of several components: the oil pan itself, the oil drain plug, the oil pickup tube, and the oil pan gasket. Understanding these parts and their functions is crucial for cleaning and maintaining your oil pan.
Signs of a Dirty Oil Pan
Symptoms Indicating the Need for Cleaning
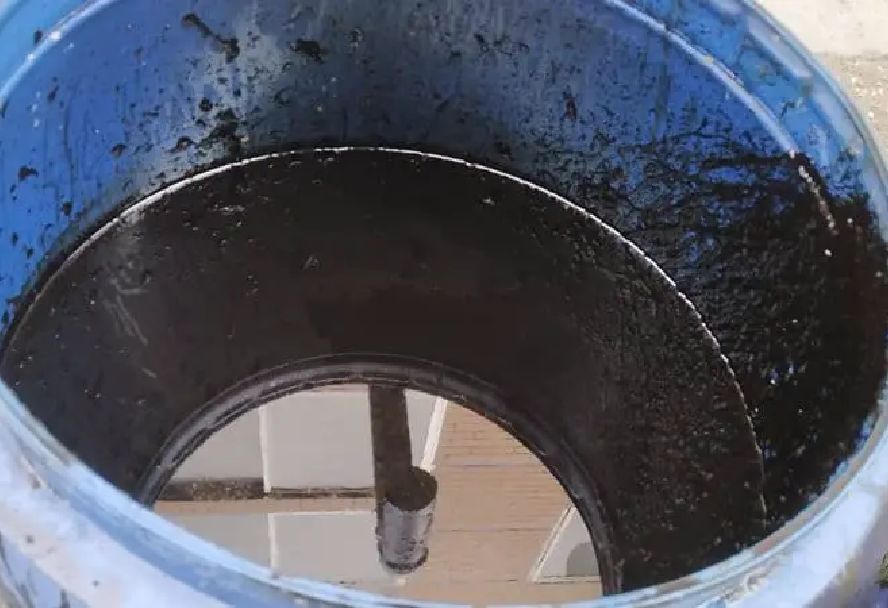
A dirty oil pan can manifest itself in various ways. Look out for symptoms such as metallic debris in the oil, engine overheating, low oil pressure, or sludge during oil changes. These signs indicate that it’s time to clean your oil pan.
Potential Risks and Consequences of Neglecting Oil Pan Cleanliness
Neglecting to clean your oil pan can have severe consequences for your engine’s health. Accumulated debris and sludge can clog the oil pickup tube, resulting in oil starvation and inadequate lubrication. This can increase friction, premature wear, and even engine failure.
Gathering Necessary Tools and Materials
List of Tools Required for Oil Pan Cleaning
Before you begin cleaning, gather essential tools such as a socket wrench, oil drain pan, oil filter wrench, scraper, cleaning brush, safety gloves, and safety glasses. The right tools will make the process more efficient and safe.
Recommended Safety Equipment
It’s essential to prioritize safety during the oil pan cleaning process. Wear safety gloves and glasses to protect your hands and eyes from hazards such as sharp edges or debris.
Identifying Appropriate Cleaning Materials
Choosing suitable cleaning materials is crucial to effectively remove oil residue and debris from your pan. Look for a degreaser specifically designed for automotive applications, as well as cleaning brushes or scrapers suitable for the material of your oil pan.
Preparing for Oil Pan Cleaning
Importance of a Warm Engine for Effective Cleaning
To facilitate the cleaning process, performing it when the engine is warm but not hot is recommended. This helps to loosen the oil residue and makes it easier to remove.
Taking Necessary Safety Precautions
Before you start, ensure your vehicle is parked on a level surface, the engine is turned off, and the parking brake is engaged. This prevents any accidents or unintended movement during the cleaning process.
Gathering Necessary Supplies and Positioning the Vehicle
Before cleaning the oil pan, gather all the necessary supplies, including a drain pan, cleaning materials, and any replacement parts, such as a new gasket. Position the vehicle in a well-ventilated area with enough space to access the oil pan easily.
Step-by-Step Guide for Cleaning the Oil Pan
Step 1: Draining the Oil
Start by locating the oil drain plug, usually at the bottom of the oil pan. Place the drain pan directly under the plug to catch the oil. Use a socket wrench to loosen and carefully remove the plug, allowing the oil to drain completely.
Step 2: Removing the Oil Pan
Locate and unbolt the oil pan from the engine block. Depending on your vehicle, you may need to remove other components, such as the exhaust system or cross member, to access the oil pan. Be patient and methodical during this step, removing all bolts without damaging the pan.
Step 3: Cleaning the Oil Pan
Choose an appropriate cleaning method based on the material of your oil pan. You can use a scraper or wire brush to remove any stubborn oil residue and debris for steel or cast iron pans. Using a non-abrasive cleaner is crucial for aluminum pans to avoid scratching the surface. Apply the degreaser to the pan and thoroughly scrub the grime with a brush or sponge.
Step 4: Inspecting and Clean the Oil Pan Gasket
Inspect the oil pan gasket for any signs of damage or wear. If necessary, replace the gasket to ensure a proper seal. Clean the gasket mating surface on the oil pan and engine block, removing any old gasket material or residue. A plastic scraper or gasket remover tool can be helpful during this process.
Step 5: Reinstalling the Oil Pan
Before reinstalling the oil pan:
- Apply a thin layer of gasket sealant or install a new gasket to ensure a tight seal.
- Carefully position the oil pan back onto the engine block, aligning it with the bolt holes.
- Start threading the bolts by hand to avoid cross-threading, then use a torque wrench to tighten them to the manufacturer’s specifications.
Additional Tips and Recommendations
Regular Maintenance for Prolonged Oil Pan Cleanliness
Cleaning the oil pan is a maintenance task that should be performed regularly. Adhering to the recommended oil change intervals and using high-quality oil and filters can prevent excessive buildup of sludge and debris in the oil pan.
Addressing Common Oil Pan Issues
If you encounter issues such as a cracked or leaking oil pan, it’s important to address them promptly. Please consult a professional mechanic to determine the best course of action, whether repairing or replacing the oil pan.
Professional Assistance for Complex Oil Pan Problems
For complex oil pan problems or if you need help tackling the cleaning process yourself, it’s advisable to seek professional assistance. Experienced mechanics have the expertise and equipment to address any underlying issues and ensure proper maintenance of your oil pan.
Conclusion
Maintaining a clean oil pan is crucial for the health and longevity of your engine. Following the step-by-step guide outlined in this article, you can effectively clean your oil pan and prevent engine problems caused by oil contamination and debris. Regular oil pan maintenance and adhering to recommended oil change intervals will improve your engine’s overall performance and durability.
Remember, a clean oil pan ensures proper lubrication, prevents oil starvation, and reduces the risk of engine damage. Investing a little time and effort into cleaning your oil pan regularly allows you to enjoy a smoother-running engine and potentially save yourself from costly repairs.
So, gather your tools, take the necessary safety precautions, and clean your oil pan. With each step, pay attention to detail, thoroughly remove oil residue, inspect the gasket, and reinstall the oil pan.
Additionally, take into account the power of regular maintenance. By staying on top of oil changes and using high-quality oil and filters, you can minimize the accumulation of sludge and debris, prolonging the cleanliness of your oil pan.
However, if you encounter any complex issues or feel unsure about the process, it’s always wise to consult a professional mechanic. They have the expertise and experience to handle intricate problems and ensure that your oil pan receives the proper care it needs.
Remember, a well-maintained oil pan improves your engine’s health and performance. So, take charge of your vehicle’s maintenance, keep that oil pan clean, and enjoy a smooth and efficient engine for miles to come.
Maintaining a clean oil pan may seem small, but it significantly impacts your engine’s performance and longevity. Following the detailed steps outlined in this guide and adopting regular maintenance habits, you can ensure that your oil pan remains free of debris, sludge, and contaminants.
So, grab your tools, gather your supplies, and dedicate time to cleaning your oil pan. Your engine will thank you with improved performance, enhanced reliability, and a longer lifespan. Please don’t overlook the importance of this maintenance task, and make it a regular part of your vehicle care routine. Your engine deserves it, and you’ll reap the benefits of a well-maintained oil pan for years.
Frequently Asked Questions
Why is it important to clean the oil pan?
How often should I clean my oil pan?
Can I clean the oil pan myself or seek professional help?
What tools and materials do I need to clean the oil pan?
Can I reuse the old oil pan gasket?
How do I know if my oil pan needs cleaning?
Signs that indicate the need for oil pan cleaning include metallic debris in the oil, engine overheating, low oil pressure, or the presence of sludge during oil changes. If you notice any of these symptoms, it is advisable to clean the oil pan to maintain the health of your engine.
Is it necessary to warm the engine before cleaning the oil pan?
Can I clean the oil pan without removing it?
How long does it take to clean the oil pan?
Can I use any degreaser to clean the oil pan, or do I need a specific one?
What are the benefits of maintaining a clean oil pan?
Can a dirty oil pan cause engine problems?
Are there any additional maintenance tips for a healthy oil pan?
Can I clean the oil pan while the vehicle is elevated on ramps or jack stands?
How can I dispose of the oil and other waste generated during cleaning?
About The Author

Orochi Konya is a student of the web. He has been dabbling in it since he was young, and has become an expert in his own right. He loves all things digital, from making websites to programming to social media. In his spare time, Orochi enjoys indulging in his other passion: music. He loves listening to all kinds of music and often spends hours creating playlists on Spotify. He also enjoys drawing manga and watching anime in his free time. Orochi is a friendly pop-culture guru who is always happy to chat about the latest trends in both Japan and the U.S.


